Miss-alignment of the test frame is one of the sources of errors in the fatigue and fracture testing. Being able to measure and control misalignment is a compliance condition of numerous standards (ASTM E1012, GE450 (NADCAP), ISO TC 164DC5WG11).
We can provide standard or custom made alignment specimens for round, flat, threaded or smooth specimen having 8, 9 or 12 strain-gauges distributed in two or three zones respectively.
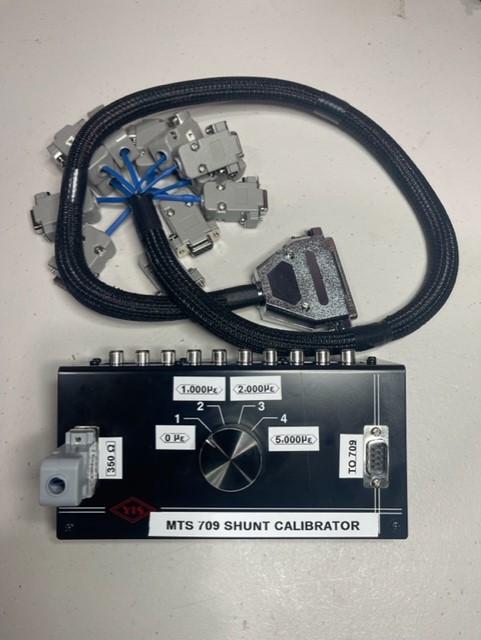
One of the requirements of the ASTM E1012 Verification of Testing Frame Alignment is that the alignment system used to align a test frame is calibrated. MTS 709 and Instron alignment systems do not provide a way of calibration for their alignment systems. Our alignment shunt calibration system is covering the calibration of the MTS 709 system . If requested we can provide a similar system for calibrating the Instron alignment device.
 MTS 709 SHUNT CALIBRATOR

